Winter storms can bring a beautiful blanket of snow, but they can also leave behind significant challenges for homeowners. After a storm passes, it’s crucial to spot roof damage early to prevent further issues that could compromise your home’s safety and integrity. This guide will help you identify roof damage after a winter storm, emphasizing the importance of a thorough winter storm roof inspection. From common signs of roof damage such as missing shingles and roof leaks to issues like ice damming, understanding the potential impacts of winter weather is essential. We’ll also share valuable roof maintenance tips and the importance of scheduling a professional roof inspection to ensure your home remains safe and secure. With the right knowledge and preventive measures for roof damage, you can safeguard your home from the harsh effects of winter storms.
Note to Homeowners:
As a homeowner, it’s essential to remain vigilant for the roof’s health after a winter storm. Regularly inspect your roof for signs of damage, and don’t hesitate to seek professional help if you notice any issues. Addressing potential problems early can save you from costly repairs and ensure your home remains a safe haven for you and your family. Remember, your roof is your first line of defense against the elements, so prioritize its health and integrity with regular roof maintenance and inspections. Stay proactive and keep your home safe this winter!
How to Spot Roof Damage After a Winter Storm
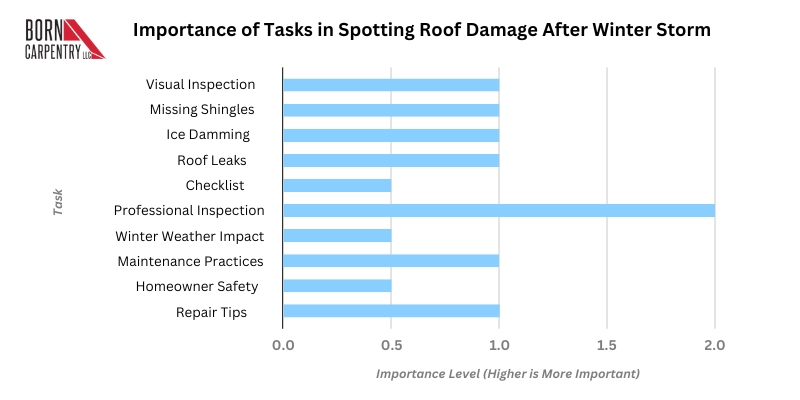
| No. | Task | Description |
|---|---|---|
| 1. | Conduct a Visual Inspection | Look for obvious signs of damage like missing or damaged shingles, cracks, or dents. |
| 2. | Check for Missing Shingles | Inspect your roof for any missing shingles, especially around edges, valleys, and ridges. |
| 3. | Look for Ice Damming | Check for ice buildup on the edges of your roof, which can lead to water damage. |
| 4. | Identify Roof Leaks | Look for water stains, mold, or mildew on your ceilings and walls. |
| 5. | Use a Roof Inspection Checklist | Use a checklist to systematically inspect your roof for potential damage. |
| 6. | Schedule a Professional Roof Inspection | Hire a qualified roofing contractor to conduct a thorough inspection. |
| 7. | Be Aware of Winter Weather Impact | Understand how winter weather conditions can affect your roof and take preventive measures. |
| 8. | Implement Roof Maintenance Practices | Regularly clean gutters, trim trees, and schedule routine roof inspections. |
| 9. | Prioritize Homeowner Safety | Avoid climbing on your roof yourself, especially if it’s wet or icy. |
| 10. | Know Roof Repair Tips | Learn basic roof repair techniques, but consult a professional for major repairs. |
After a winter storm, it’s vital to assess your roof for potential damage to prevent costly repairs down the line. Knowing how to spot roof damage is crucial for maintaining the integrity of your home. Here are ten key points to help you identify and address roof damage after a winter storm.
1. Conduct a Visual Inspection
- Look for obvious signs of damage: Check for missing shingles, cracks, or discolored areas on your roof. These are often the first indicators of potential issues.
- Inspect from the ground: You don’t always need to get on your roof. Use binoculars to examine the roof from a safe distance.
- Check your gutters: Clogged gutters can indicate ice damming or other problems that may affect your roof.
2. Check for Missing Shingles
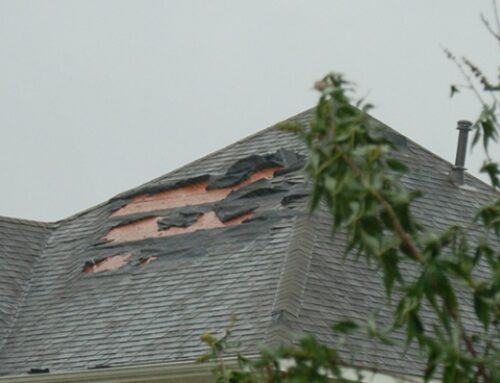
- Identify any gaps: Missing shingles can leave your roof vulnerable to leaks and water damage.
- Assess surrounding shingles: Look for shingles that appear to be lifted or curled, as these may soon detach.
- Document the damage: Take photos of missing shingles for your records and for any potential insurance claims.
3. Look for Ice Damming
- Understand the risks: Ice damming occurs when melted snow refreezes at the eaves, preventing water from draining off your roof.
- Inspect your gutters: If your gutters are frozen or clogged, water can back up, leading to leaks inside your home.
- Consider insulation: Ensure your attic is properly insulated to prevent heat from escaping, which can contribute to ice dams.
4. Identify Roof Leaks
- Inspect your attic: Look for water stains or discoloration on the ceiling or walls. This can indicate a leak.
- Check for mold: Mold growth can be a sign of prolonged moisture, often due to roof leaks.
- Look for dripping water: If you notice water pooling or dripping in your attic after a storm, it’s crucial to act quickly.
5. Use a Roof Inspection Checklist
- Create a comprehensive checklist: A roof inspection checklist can help you systematically evaluate your roof for damage.
- Include key areas to inspect: Make sure to cover shingles, flashing, gutters, and vents in your checklist.
- Document your findings: Keep a record of any issues for future reference and potential repairs.
6. Schedule a Professional Roof Inspection
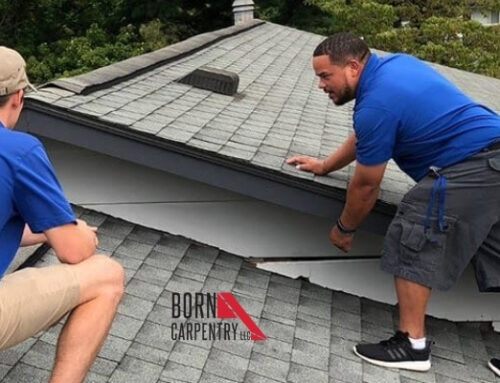
- Consider hiring an expert: A professional roof inspection can uncover hidden issues that you might miss during a visual check.
- Seek reputable contractors: Look for local roofing professionals with good reviews and recommendations.
- Discuss your findings: Share any observations from your inspection to give the contractor a clear picture of potential issues.
7. Be Aware of Winter Weather Impact
- Understand seasonal risks: Heavy snowfall and ice can weigh down your roof and lead to structural damage.
- Consider wind damage: Strong winds during storms can dislodge shingles and other roofing materials.
- Monitor temperature fluctuations: Rapid temperature changes can cause expansion and contraction, leading to potential damage.
8. Implement Roof Maintenance Practices
- Schedule regular maintenance: Consistent roof maintenance can extend the life of your roof and prevent serious issues.
- Clear debris: Remove leaves, branches, and snow from your roof and gutters to avoid water buildup.
- Inspect seals and flashings: Ensure that all seals around vents and chimneys are intact and not cracked.
9. Prioritize Homeowner Safety
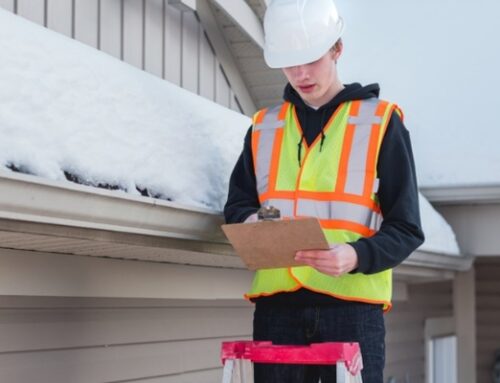
- Exercise caution: Always prioritize your safety when inspecting your roof. Use ladders securely, andconsider hiring a roofing professional if needed.
- Wear proper gear: If you must go on your roof, wear non-slip shoes and a safety harness.
- Avoid hazards: Be cautious of slippery surfaces, especially after snow or ice.
10. Know Roof Repair Tips
- Act quickly: If you notice damage, address it as soon as possible to prevent further issues.
- Use proper materials: When making repairs, use materials that match your existing roof for consistency.
- Consult a professional: For extensive damage, it’s best to contact a roofing contractor to ensure the repair is done correctly.

Conclusion
By understanding how to spot roof damage after a winter storm and taking proactive steps, you can protect your home from costly repairs and maintain its value. Remember, safety is paramount—when in doubt, seek professional roof inspection services to ensure your home remains secure and sound. With the right approach, you can effectively manage the impact of winter weather on your roof and keep your home safe and comfortable.


